


HPC User Day 2025: Prvý ročník úspešne za nami!
Dňa 12.3. 2025 sa v priestoroch Auly SAV uskutočnilo stretnutie používateľov vysokovýkonnej výpočtovej techniky vo formáte jednodňovej konferencie – HPC User Day, organizované Výpočtovým strediskom SAV. Veríme, že týmto podujatím...
REGISTER NOW: HPC User Day 2025
Spustili sme registráciu na HPC User Day 2025! Podujatie je určené pre všetkých, ktorí využívajú vysokovýkonné výpočtové zdroje, ako aj pre...
Save the date: Pozvánka na prvý ročník konferencie používateľov HPC
Výpočtové stredisko SAV s potešením oznamuje prvý ročník konferencie používateľov vysokovýkonných výpočtových prostriedkov (HPC) s názvom „HPC User Day 2025“, ktorá sa...
Medzinárodný deň žien a dievčat vo vede
Medzinárodný deň žien a dievčat vo vede sa oslavuje každoročne 11. februára. Tento deň bol vyhlásený Organizáciou Spojených národov (OSN) v...
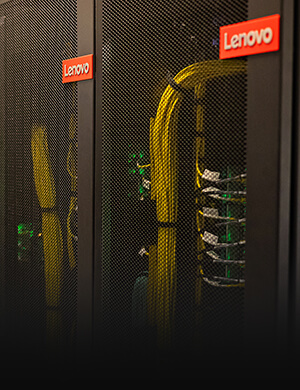
Výzva na podávanie projektov pre prístup na Leonardo
Výpočtové stredisko SAV otvára druhú výzvu na podávanie žiadostí o prístup k výpočtovým kapacitám Leonardo pre žiadateľov zo Slovenskej akadémie vied. Superpočítač Leonardo...